Creating E Forms from “Manage Forms” menu.
The best way to learn how to use E-forms is to simply use it.
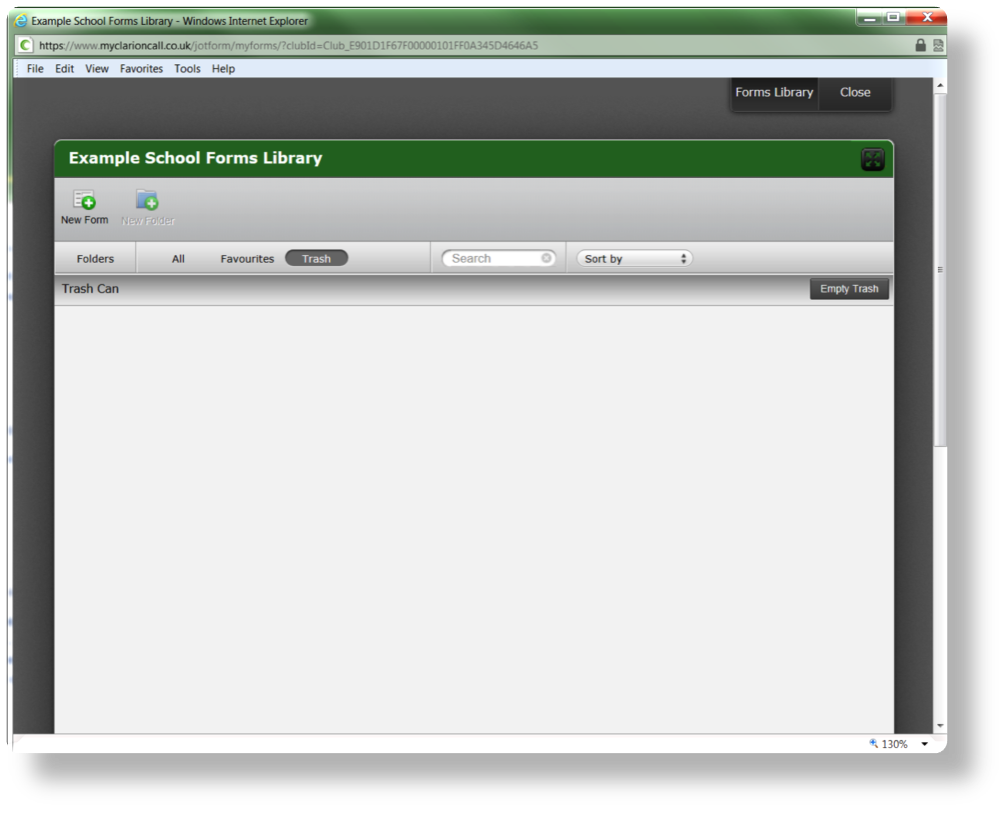
Login to ClarionCall in the usual way and click on Admin on the left, then Manage Forms on the right.
For this tutorial, let's create a simple contact form. Our goal is to create a form that sends responses in ClarionCall attributed to the specific member.
1. Think About What to Ask
The first step is to think about what kind of questions to ask to your users. Best forms have less questions. Many users will simply abandon a form if it has too many questions.
2. State Purpose on a Heading
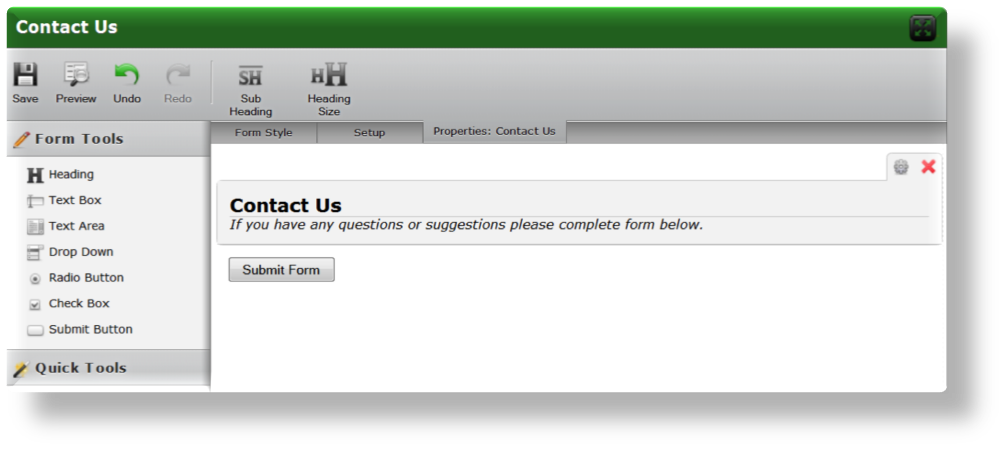
Although we are aware why we are building this form, a confused user might land on the web page without knowing what the purpose of this form is. So, let's put a short heading such as "Contact Us" to our form.
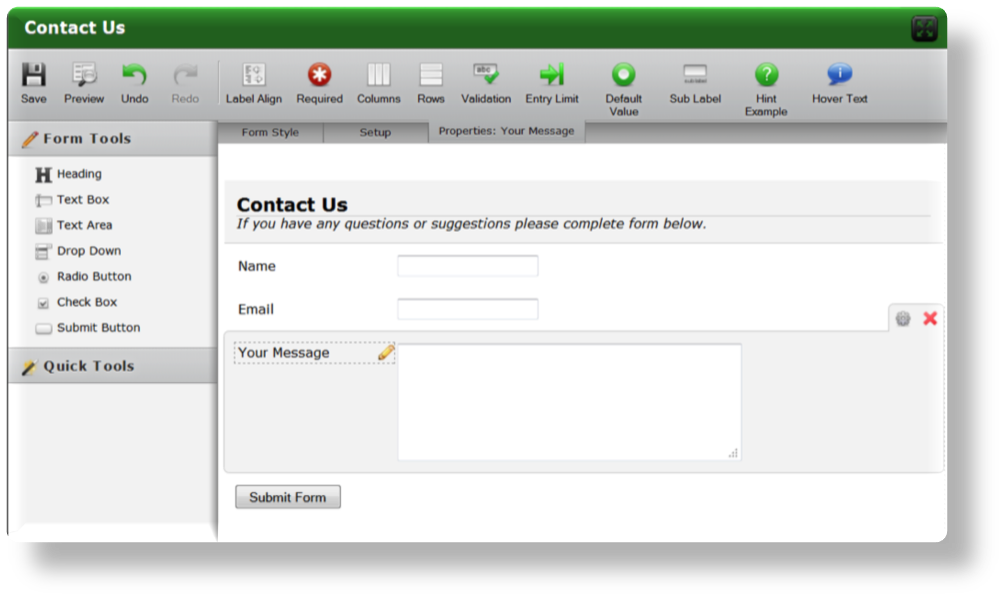
There are many ways to add a field to a form on E-forms. You can just click on the field type, or you can drag and drop it into the form. To add a Heading question to our form, simply click on "Heading" on the left side.
You should now see a "Click to edit this text" on the right side. Click on that and type "Contact Us".
We can also use the sub-heading to describe more about our form below the main heading. Let's put "If you have any questions or suggestions please complete form below.”
3. Text Box is for Short Answers
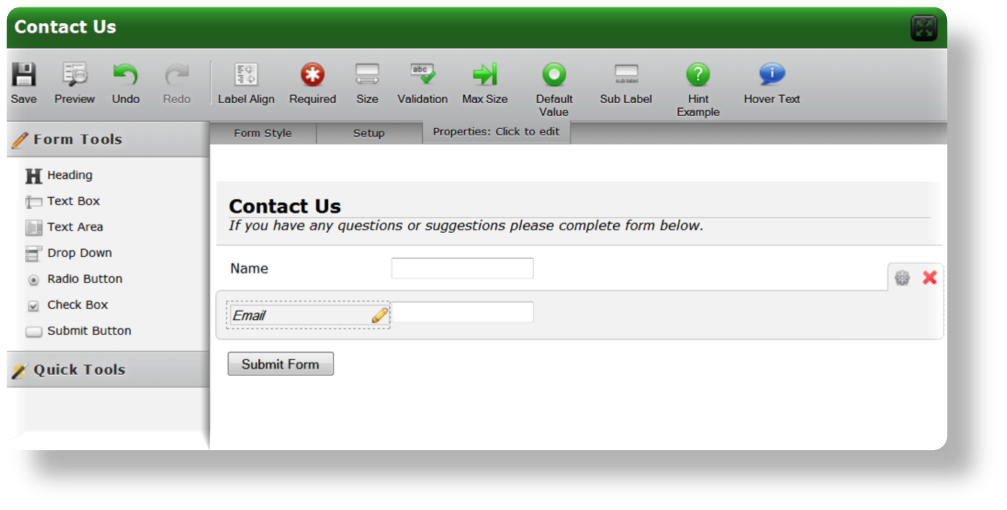
Next, let's ask name and email address of the user. Simply click on the next field on the left side "Text Box". This will add a new text field question to the form:
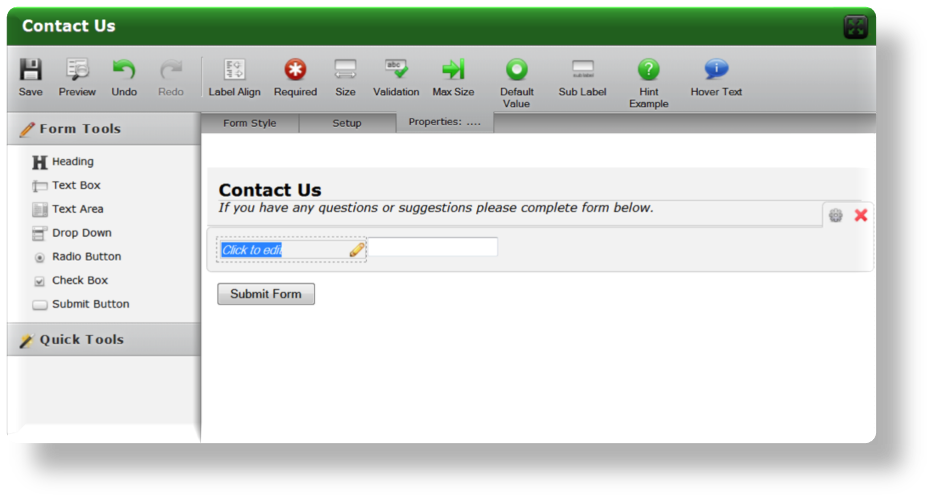
We can click on it to change the text to "Name". We would do the same for the "Email" address field.
4. Text Area is for Long Answers
Our next question will be a large text area so that user can enter long answers on it. Click on "Text Area" on the left toolbox to add a new text area. Then change its name to "Your Message".
5. Preview Form
We have now completed our form. Whilst intuitive to create it may still be useful to see how the form will look when finished. Simply click on the "Preview" button to take a look.
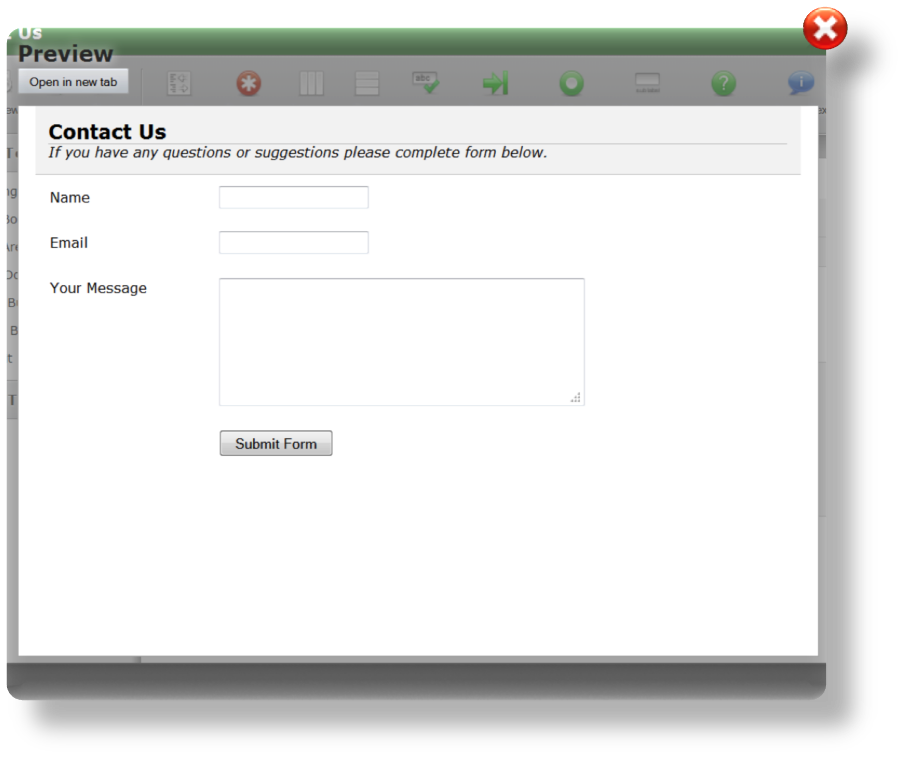
Once you are happy with your form you can click Save and it will be ready to use. If the Save button is unavailable (i.e. greyed out) then this means that the form has recently been autosaved and you have not made any changes to it since, and is ready to use when sending an email to a specific group.