| Click here to view or download a PDF file of this guide | Click here to view a video example of this guide |
1. Ensure you are logged in to the ‘Staff Message Centre’.
2. Click ‘Schedule’ in the Event Zone on the Dashboard. Click the ‘+New’ button.

The new Event page
3. Select a Category from the drop-down menu. Event Categories define the event type, and dictate how the event is published and where. An Event must have a Category assigned to it; these are setup in the Calendar Zone. Click here to view a help guide on setting up Categories.
4. Enter the event’s title, a brief description and select whether it will repeat or not.
5. If the event will last all day, click ‘Yes’ for the ‘All-Day’ prompt, and then select both a start and end date. If only lasting a portion of the day, select ‘No’ for the ‘All-Day prompt, select a start date and start time, and an end date and end time.
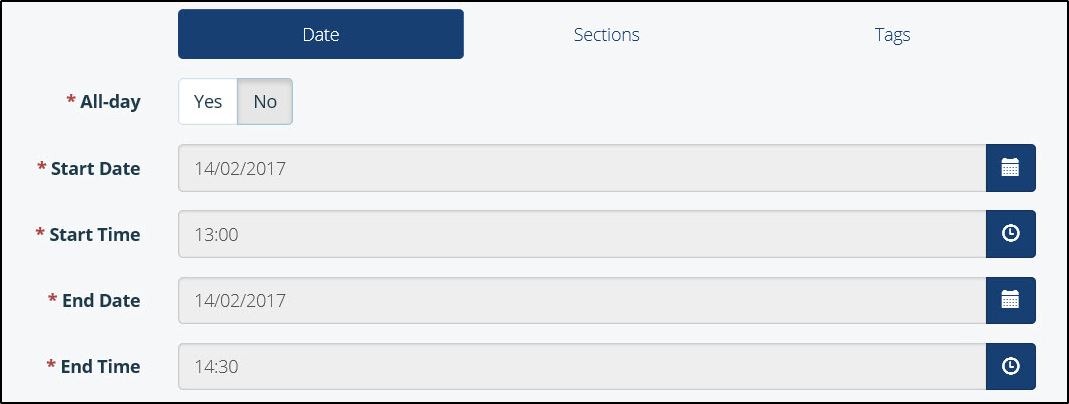
The Event date and time section
6. Click the ‘Sections’ tab to select and assign relevant sections to the event. Click the ‘Tags’ tab to select and assign relevant tags to the event
• Sections and Tags offer further filtering options when viewing the Calendar.
• Sections can be used for large divides such as Junior School and Senior School. Tags can be used for smaller divides to further filter information down, such as Year or Form groups.
• When viewing the calendar, clicking the 'Filter' button will bring up a modal window, allowing users to select which Categories, Sections and Tags they wish to be able to view.
• Sections and Tags are created in the Calendar Zone, under 'Setup'. Click here to view a help guide on setting up Sections and Tags.
7. Once you have entered the required details, click ‘Submit’ to save your event.
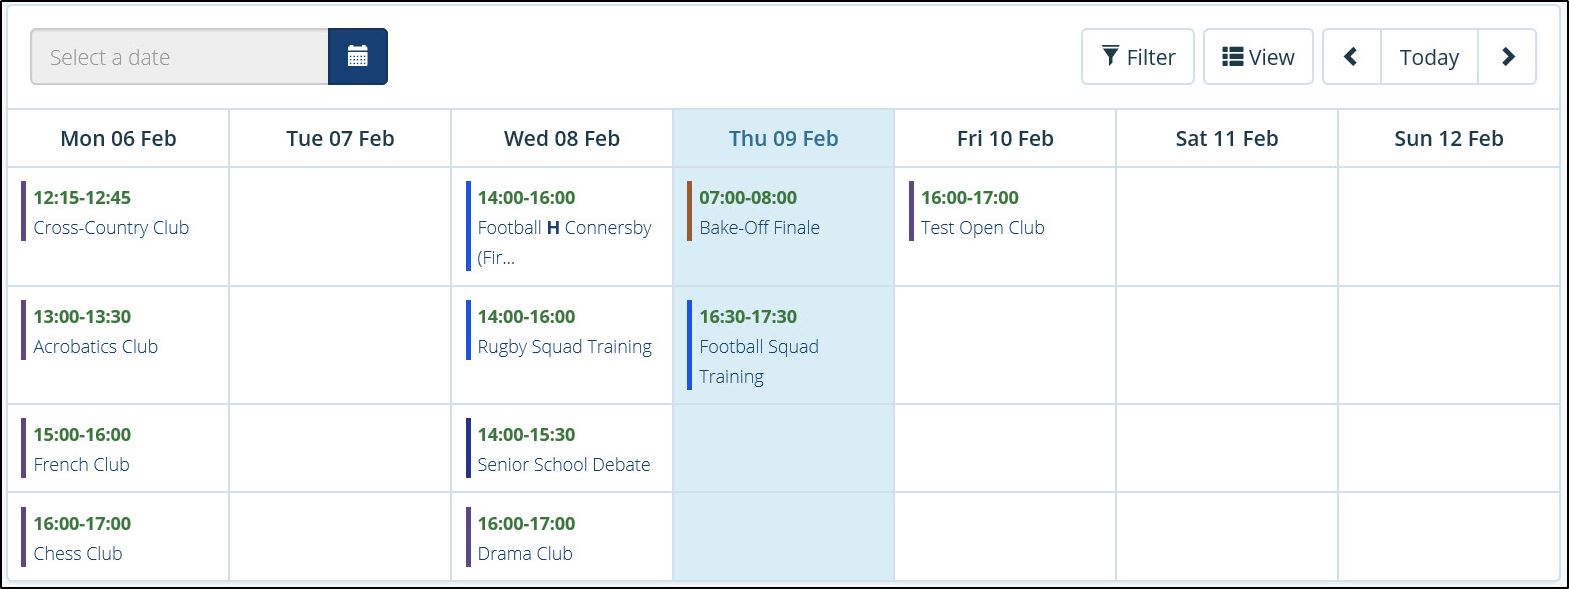
Events displayed in the Calendar


