| Click here to view or download a PDF file of this guide |
| Click here to view a video guide on how to create a folder |
| Click here to view a video guide on how to upload a document |
In order to upload documents to the File Zone, a folder must be created to save the file in.
There may be circumstances where documents need to be uploaded to view in the Parent Message Centre for particular school pupil groups, e.g. GCSE information for Year 11 pupils. Assigning particular year groups to a document folder will ensure it only displays to parents of the chosen pupil group.
How to create a Document Folder
1. Ensure you are logged into the Staff Message Centre.
2. Click the ‘Document Manager’ panel list item in the File Zone on the Dashboard.
3. Click ‘Folders’ in the left-hand menu.
4. Click ‘+New’, and enter a title for the folder. If your folder has already been created, click on the folder and go to Step 5.
5. Click the ‘Availability’ tab. Select the group the documents should be available for, and click ‘Add Group’. Repeat this as necessary.
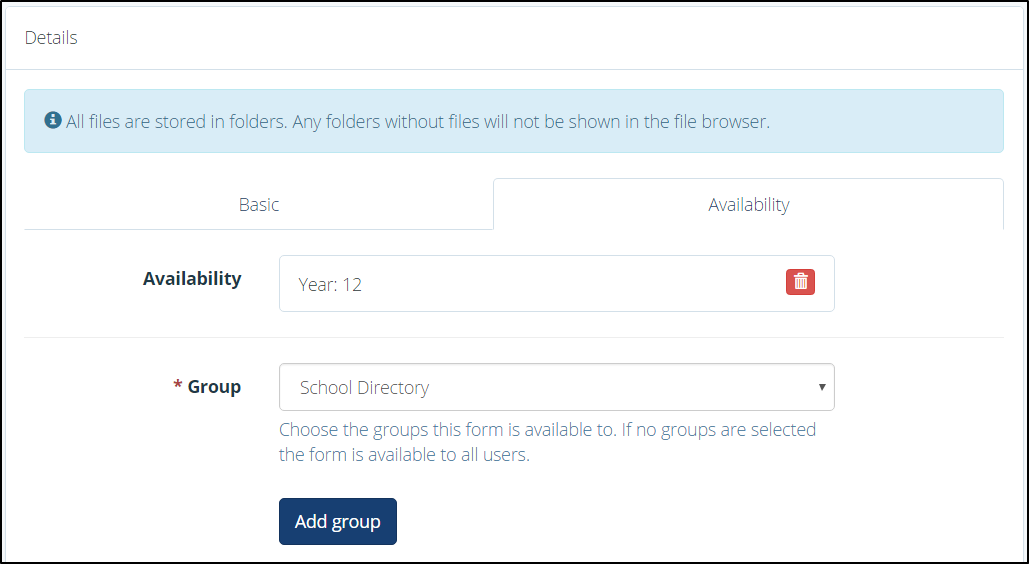
The Document Folder Availability option
6. Click ‘Save & New’ when your changes have been made.
How to upload a Document
1. Click ‘Files’ in the left-hand menu.
2. Select the folder you wish to upload your document to from the ‘Folders’ llist.
3. Click ‘+New’.
4. In the ‘Basic’ tab, enter the document’s title in the ‘Name’ field, select the file type and add a description of the document.
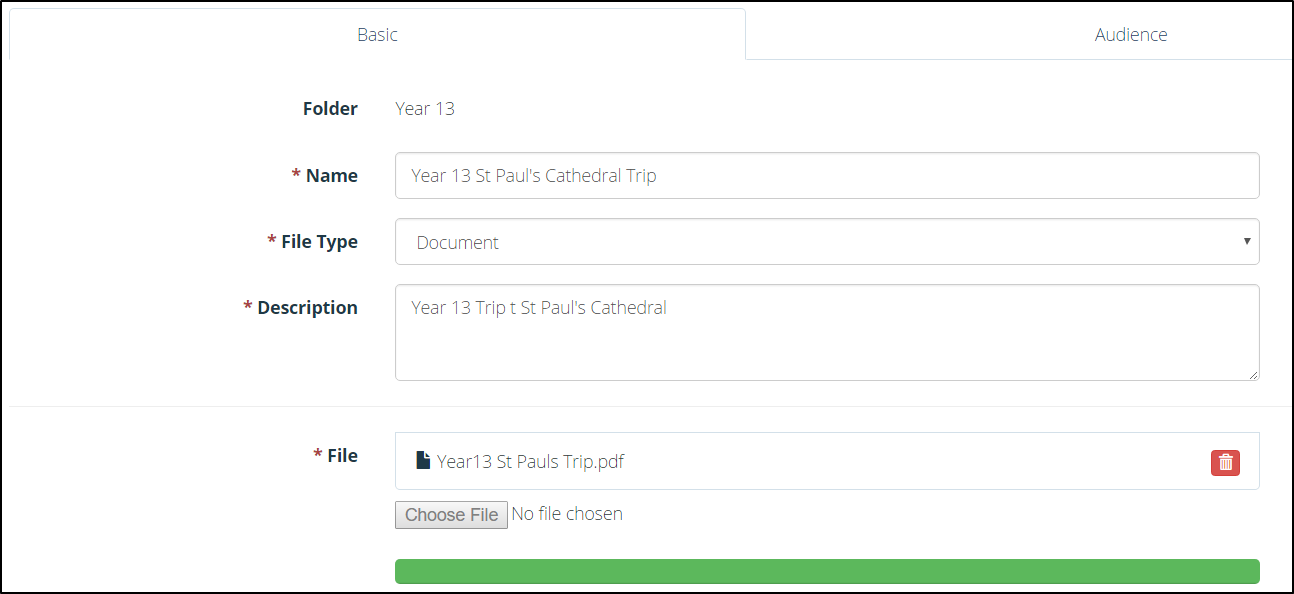
The upload file ‘Basic’ tab
5. Use the choose file option to select the document for upload. A green bar will appear when the document has been successfully loaded.
6. Click the ‘Audience’ tab and select if the document can appear in the private space, public space, or both (full). Choose which message centre(s) the document can appear.
7. Click ‘Submit’ when all details have been completed to save your document.


