| View a PDF file Click here |
| View a video Click here |
In order to upload Newsletters to the File Zone, a folder must be created to save the file in. These can be created to organise your Newsletters according to the relevant term, month, or year as appropriate, or another directory method.
How to create a Newsletter Folder
1. Ensure you are logged into the Staff Message Centre.
2. Click ‘Newsletter Manager’ in the File Zone on the ‘Dashboard’.
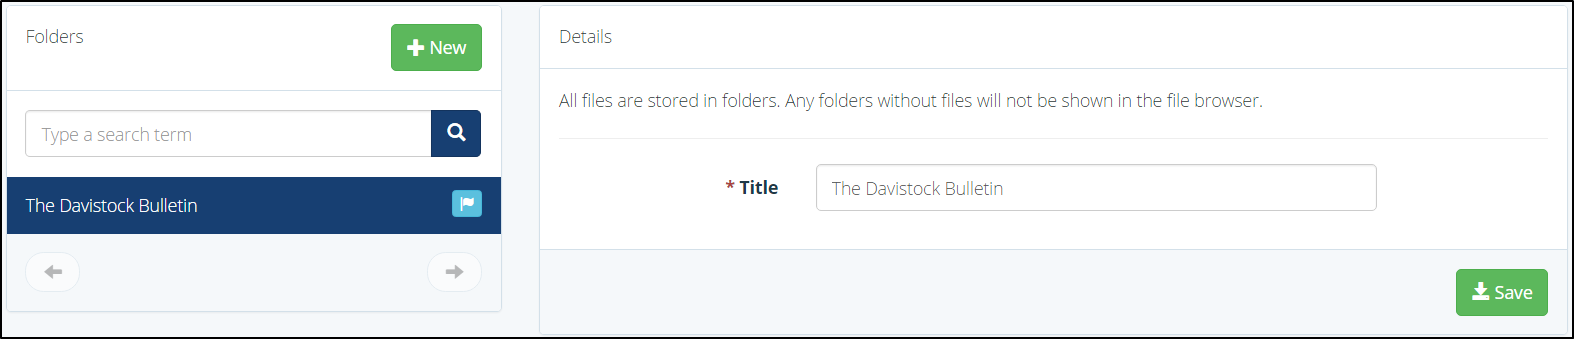
3. Click ‘Folders’ in the left-hand menu, and click the ‘+New’ icon. Enter a title for the folder, and click ‘Save & New’.
How to upload a Newsletter
1. Click ‘Files’ in the left-hand menu.
2. Select the folder you wish to upload your Newsletter to from the ‘Folders’ list.
3. Click ‘+New’.
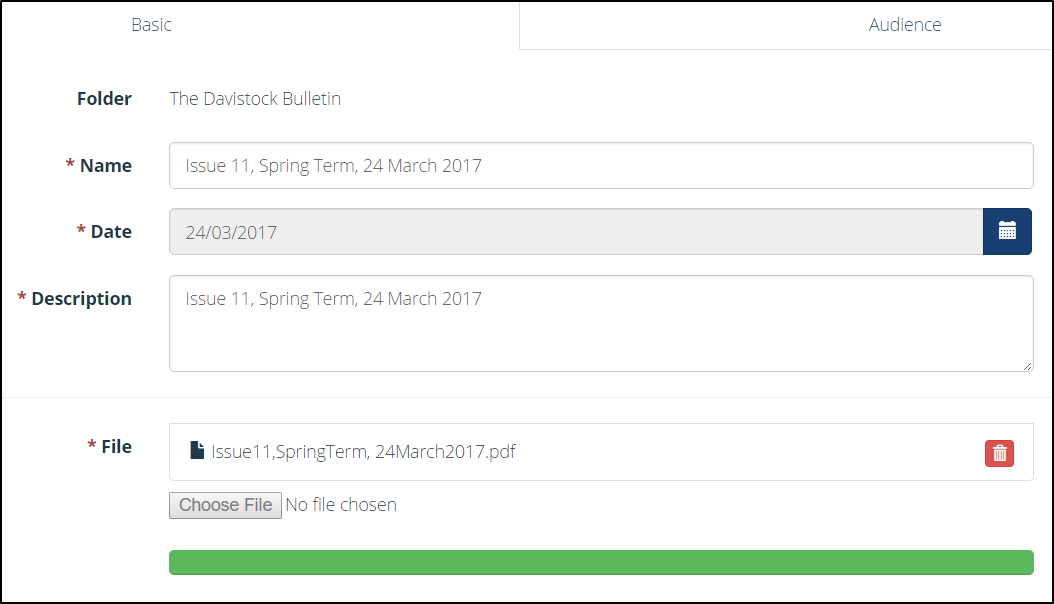
4. In the ‘Basic’ tab, enter the title of the Newsletter, the date of the upload, and a brief description. These details are required in order to successfully upload the Newsletter file.
5. Click the ‘Browse’ button in the ‘File’ field, and select the appropriate file. This file should be in PDF format.
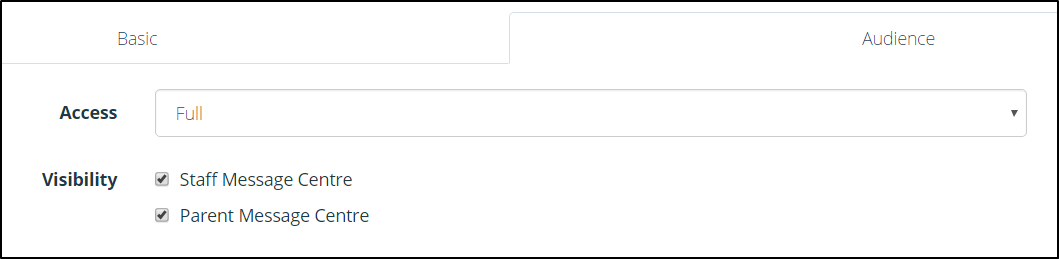
6. Click the ‘Audience’ tab to select the visibility of the Newsletter. The ‘Access’ option denotes whether the Newsletter can be viewed publically only, privately only, or both (full). The visibility option denotes which Message Centre(s) the Newsletter will display in, select Staff Message Centre, Parent Message Centre or tick both to display the Newsletter to all users.
7. Once all details have been entered correctly, click the ‘Submit’ button to upload the Newsletter. Newsletters are saved in chronological order within the selected folder, with the most recent uploads displaying first.


